
Astro个人博客搭建#
Installation#
Environment requirements:
- Nodejs ↗: 18.0.0+
Install Using Fork#
You only need to click fork button at theme repository ↗ to create your project; then clone the forked repository to your local machine.
git clone https://github.com/<your-username>/astro-theme-pure.git
cd ./<your-project>
bun installThen, you can start the Astro dev server and see a live preview of your project while you make it your own!
Start the Dev Server#
Go to your project directory:
cd ./<your-project>
bun devSimple Setup#
-
Remove docs files
- Remove the
src/pages/docsdirectory - Remove the menu declaration in
src/site.config.ts:
src/site.config.ts
tsexport const theme: ThemeUserConfig = { // ... /** Configure the header of your site. */ header: { menu: [ { title: 'Blog', link: '/blog' }, { title: 'Docs', link: '/docs' }, // ... ], }, }- Remove the Content Collection for docs in
src/content.config.ts:
src/content.config.ts
tsconst docs = defineCollection({ loader: glob({ base: './src/content/docs', pattern: '**/*.{md,mdx}' }), schema: ({ image }) => z.object({ ... }) }) export const collections = { blog, docs } export const content = { blog } - Remove the
-
Remove
packagesdirectory (this will be imported by our NPM package) -
Change the site favicon.
Replace the
public/favicon/*files with your own favicon. -
Replace your avatar image.
Replace the
src/assets/avatar.pngfile with your own avatar image. -
Configure the site
You can configure your project inside the
src/site.config.tsconfiguration file:src/site.config.ts
tsexport const theme: ThemeUserConfig = { author: 'CWorld', title: 'Astro Theme Pure', site: 'https://astro-pure.js.org', description: 'Stay hungry, stay foolish', // ... } export const integ: IntegrationUserConfig = { /* ... */ } // ... -
Typescript Syntax
The configuration file
site.config.tsuses Typescript syntax. If you are not familiar with TS syntax, please read about it here ↗ first.
Deployment Mode#
Vercel#
This theme supports Vercel by default:
- Push your code to your online Git repository (GitHub, GitLab, BitBucket).
- Import your project ↗ into Vercel.
- Vercel will automatically detect Astro and configure the right settings.
- Your application is deployed! (e.g. astro.vercel.app ↗)
And vercel also support static method:
import vercelServerless from '@astrojs/vercel/serverless'
import vercelStatic from '@astrojs/vercel/static';

export default defineConfig({
  //   ...
  adapter: vercelServerless()
  adapter: vercelStatic(),
})Using Vercel with a custom domain#
Vercel Dashboard -> your-project -> Settings -> Domains
Edit your domain and save, configure your DNS settings automatically.
Waline Comment System#
The theme’s comment, read statistics, likes, and other functionalities are all provided by Waline ↗.
Deploy#
You can refer to its documentation ↗ for configuration, and it is recommended to use the Vercel + Lean combination.
LeanCloud 设置 (数据库)#
-
点击左上角 创建应用 ↗ 并起一个你喜欢的名字 (请选择免费的开发版):
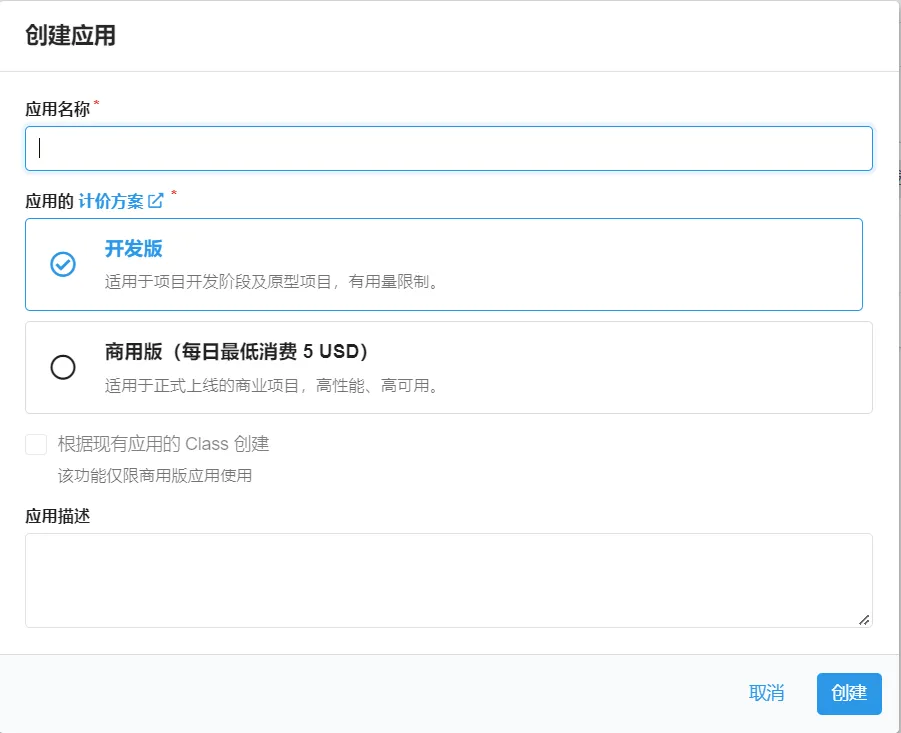 创建应用
创建应用 -
进入应用,选择左下角的
设置>应用 Key。你可以看到你的APP ID,APP Key和Master Key。请记录它们,以便后续使用。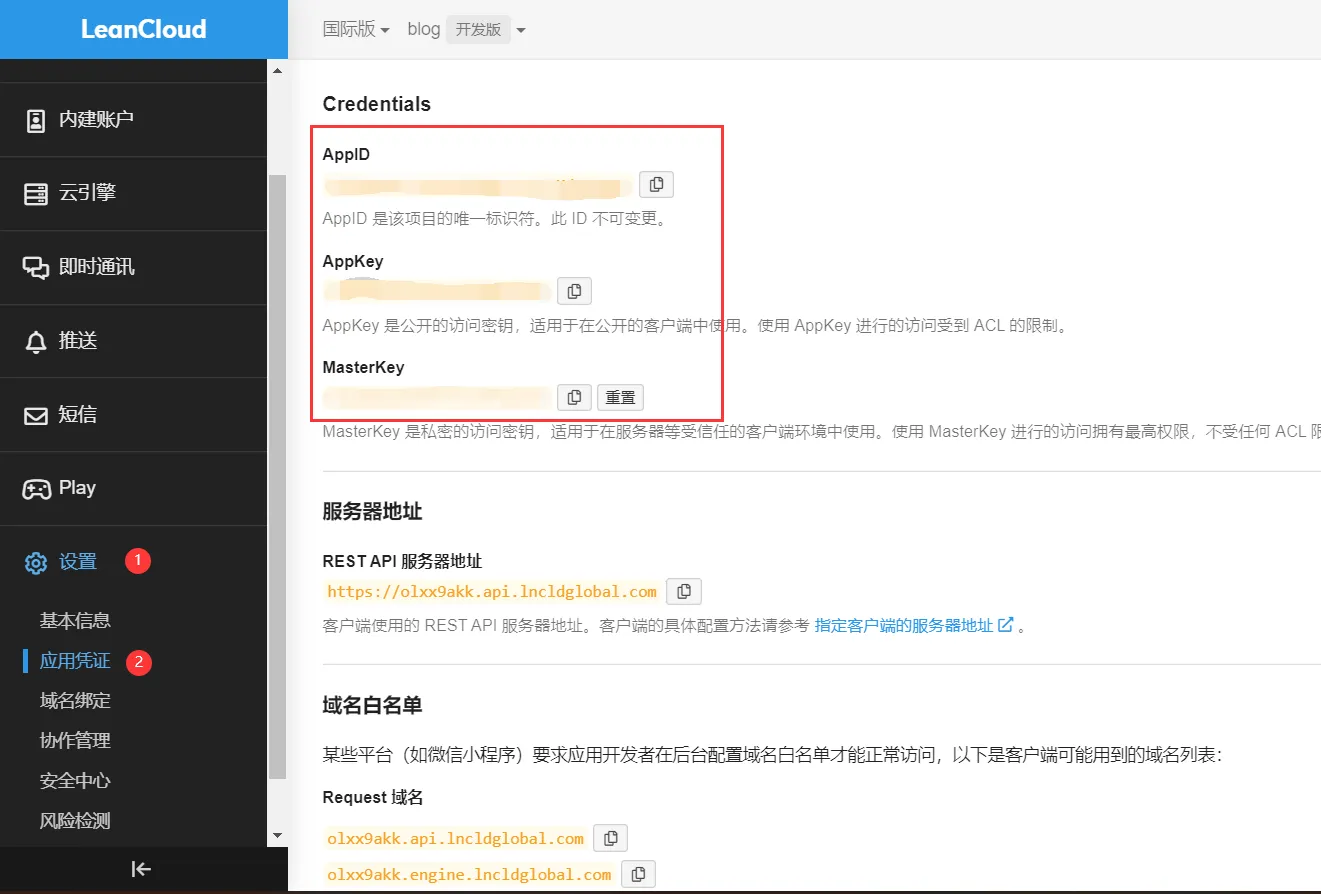 ID 和 Key
Vercel 部署 (服务端)#
![]() ↗Vercel
↗Vercel
-
点击上方按钮,跳转至 Vercel 进行 Server 端部署。
注
如果你未登录的话,Vercel 会让你注册或登录,请使用 GitHub 账户进行快捷登录。
-
输入一个你喜欢的 Vercel 项目名称并点击
Create继续: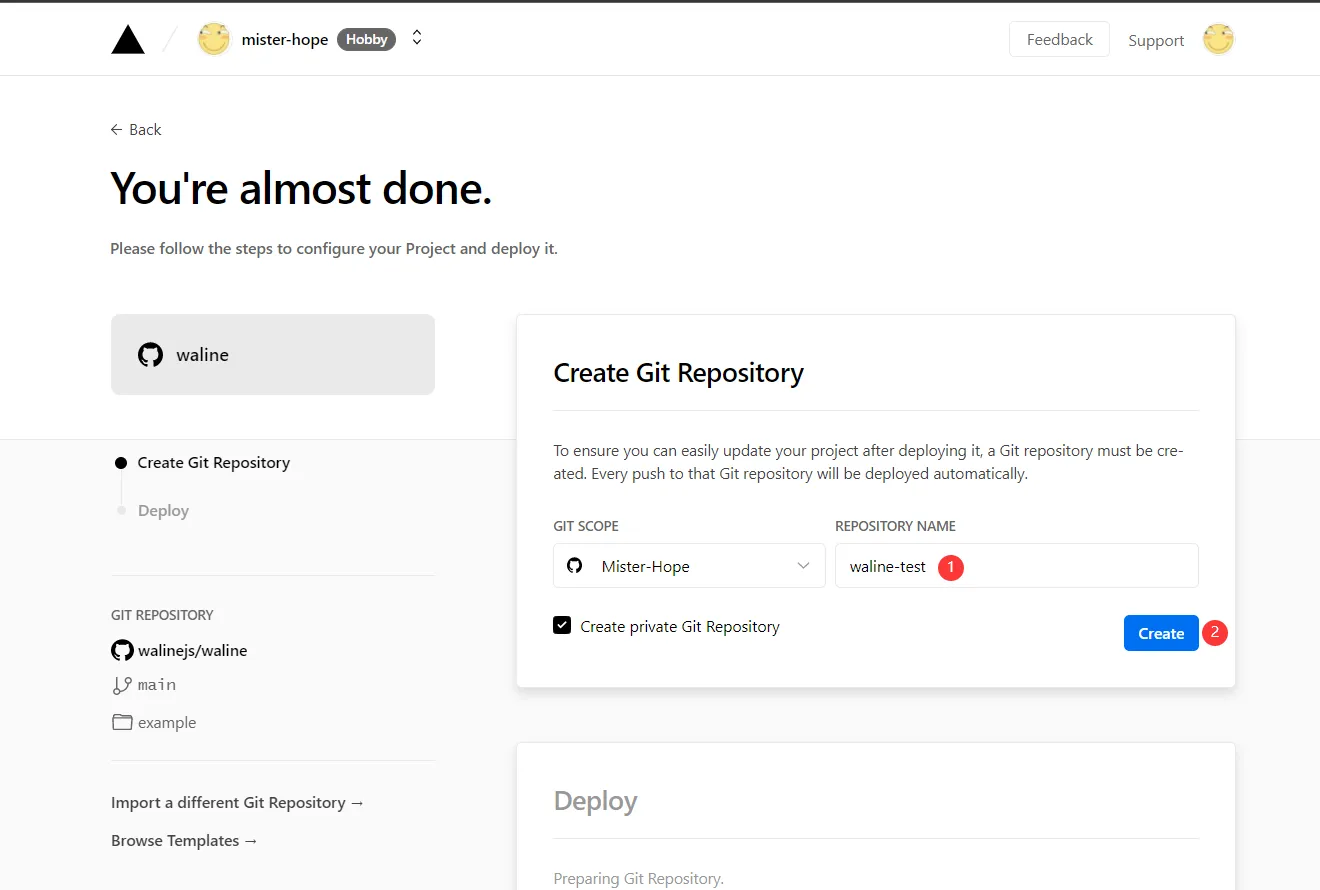 创建项目
创建项目 -
此时 Vercel 会基于 Waline 模板帮助你新建并初始化仓库,仓库名为你之前输入的项目名。
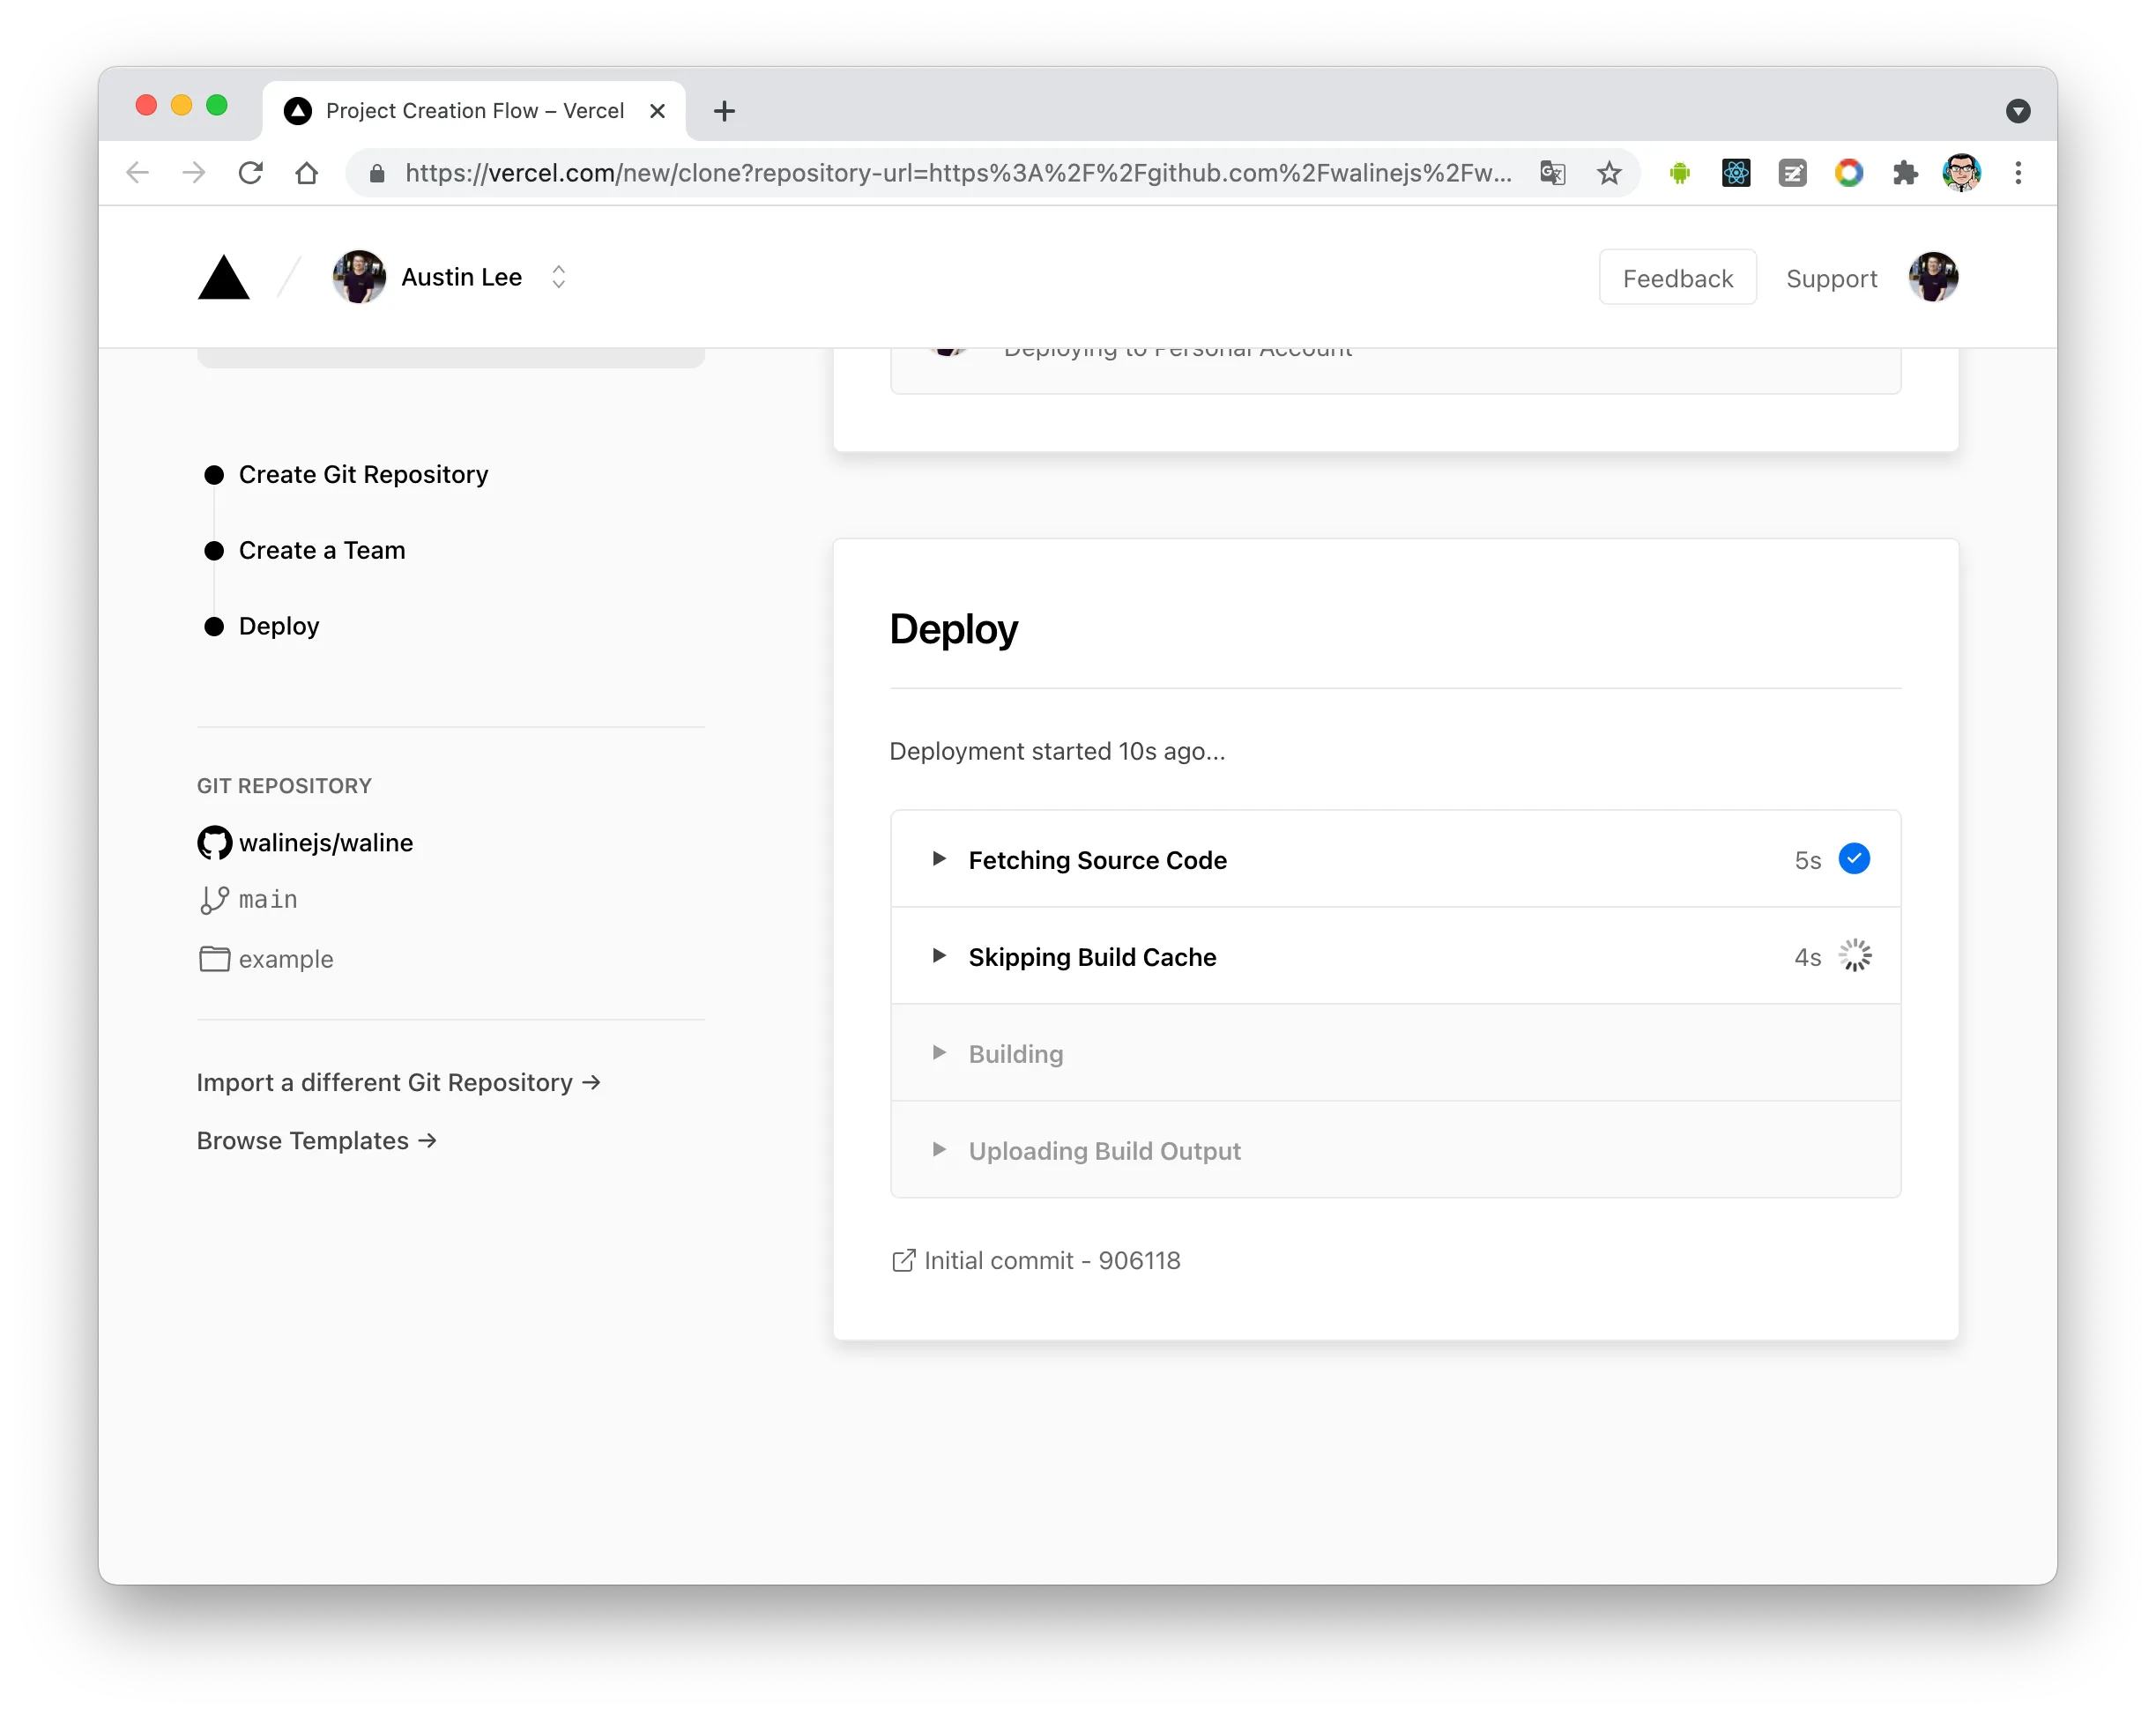 deploy
一两分钟后,满屏的烟花会庆祝你部署成功。此时点击
Go to Dashboard可以跳转到应用的控制台。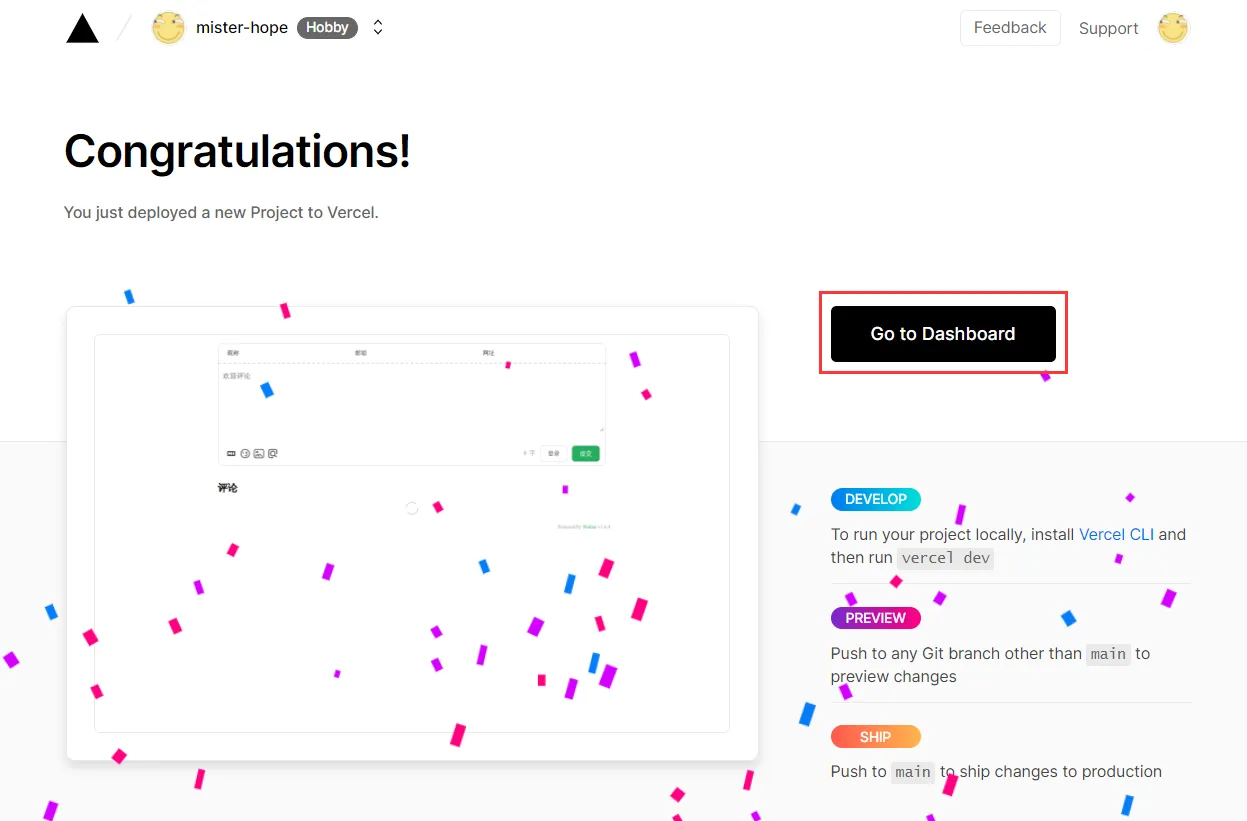 deploy
 -
点击顶部的
Settings-Environment Variables进入环境变量配置页,并配置三个环境变量LEAN_ID,LEAN_KEY和LEAN_MASTER_KEY。它们的值分别对应上一步在 LeanCloud 中获得的APP ID,APP KEY,Master Key。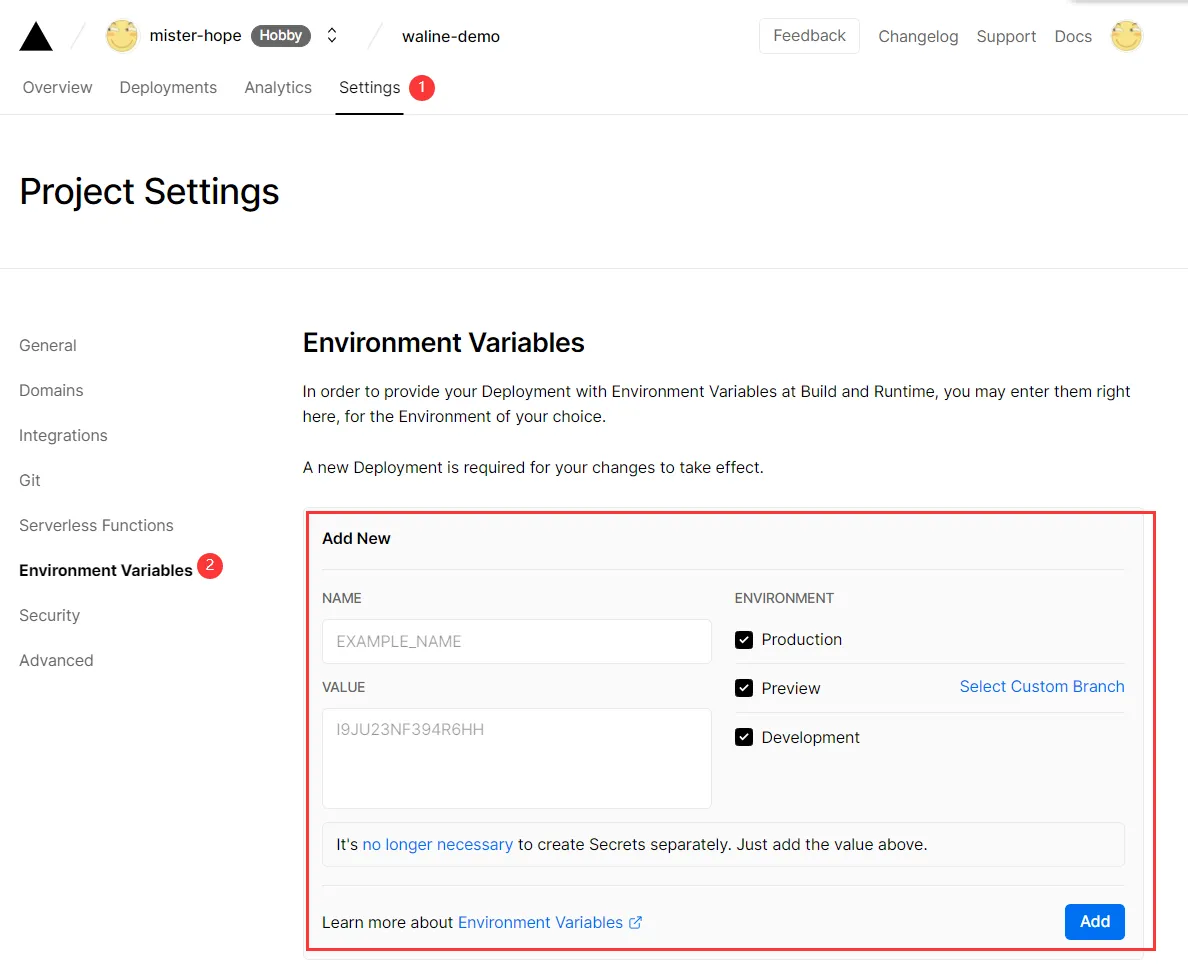 设置环境变量
 -
环境变量配置完成之后点击顶部的
Deployments点击顶部最新的一次部署右侧的Redeploy按钮进行重新部署。该步骤是为了让刚才设置的环境变量生效。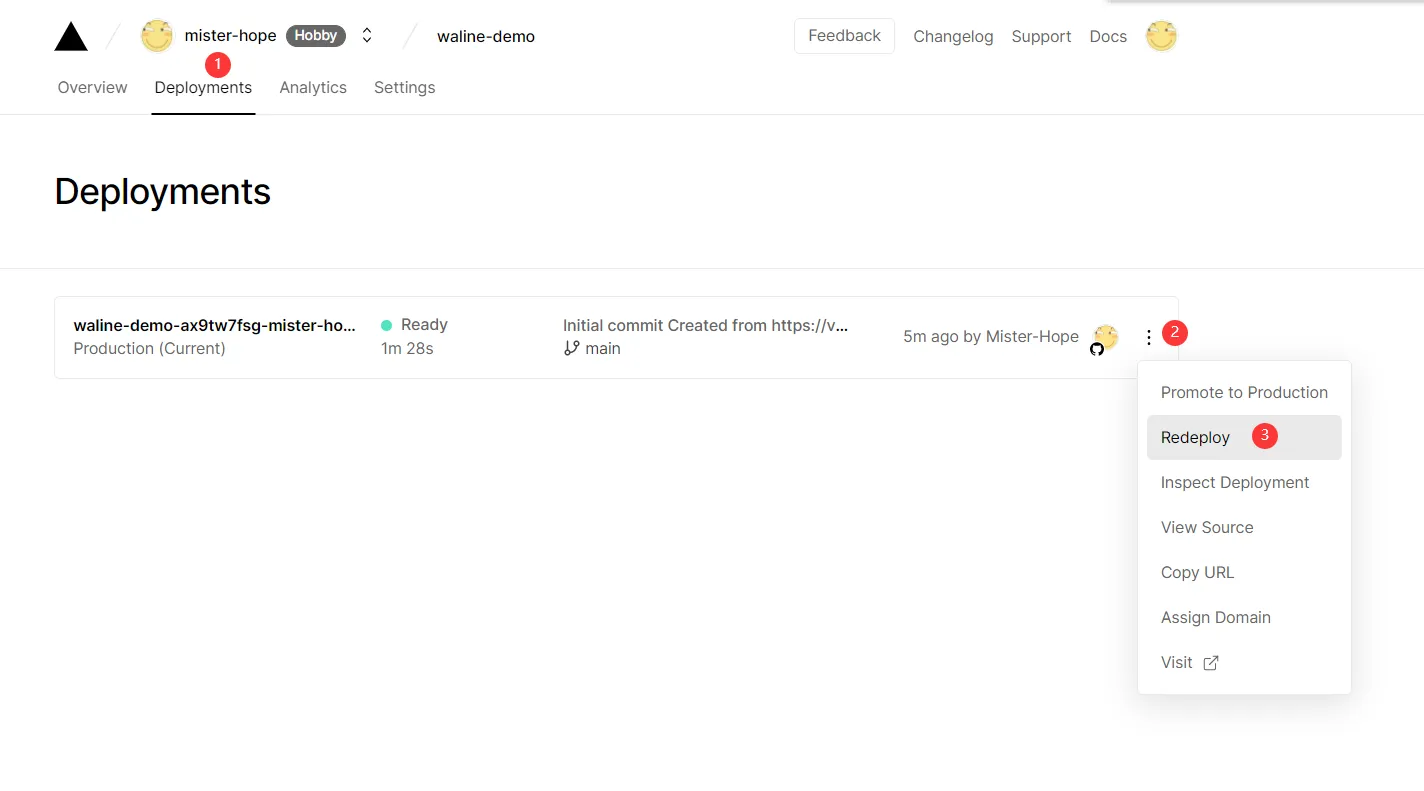 redeploy
 -
此时会跳转到
Overview界面开始部署,等待片刻后STATUS会变成Ready。此时请点击Visit,即可跳转到部署好的网站地址,此地址即为你的服务端地址。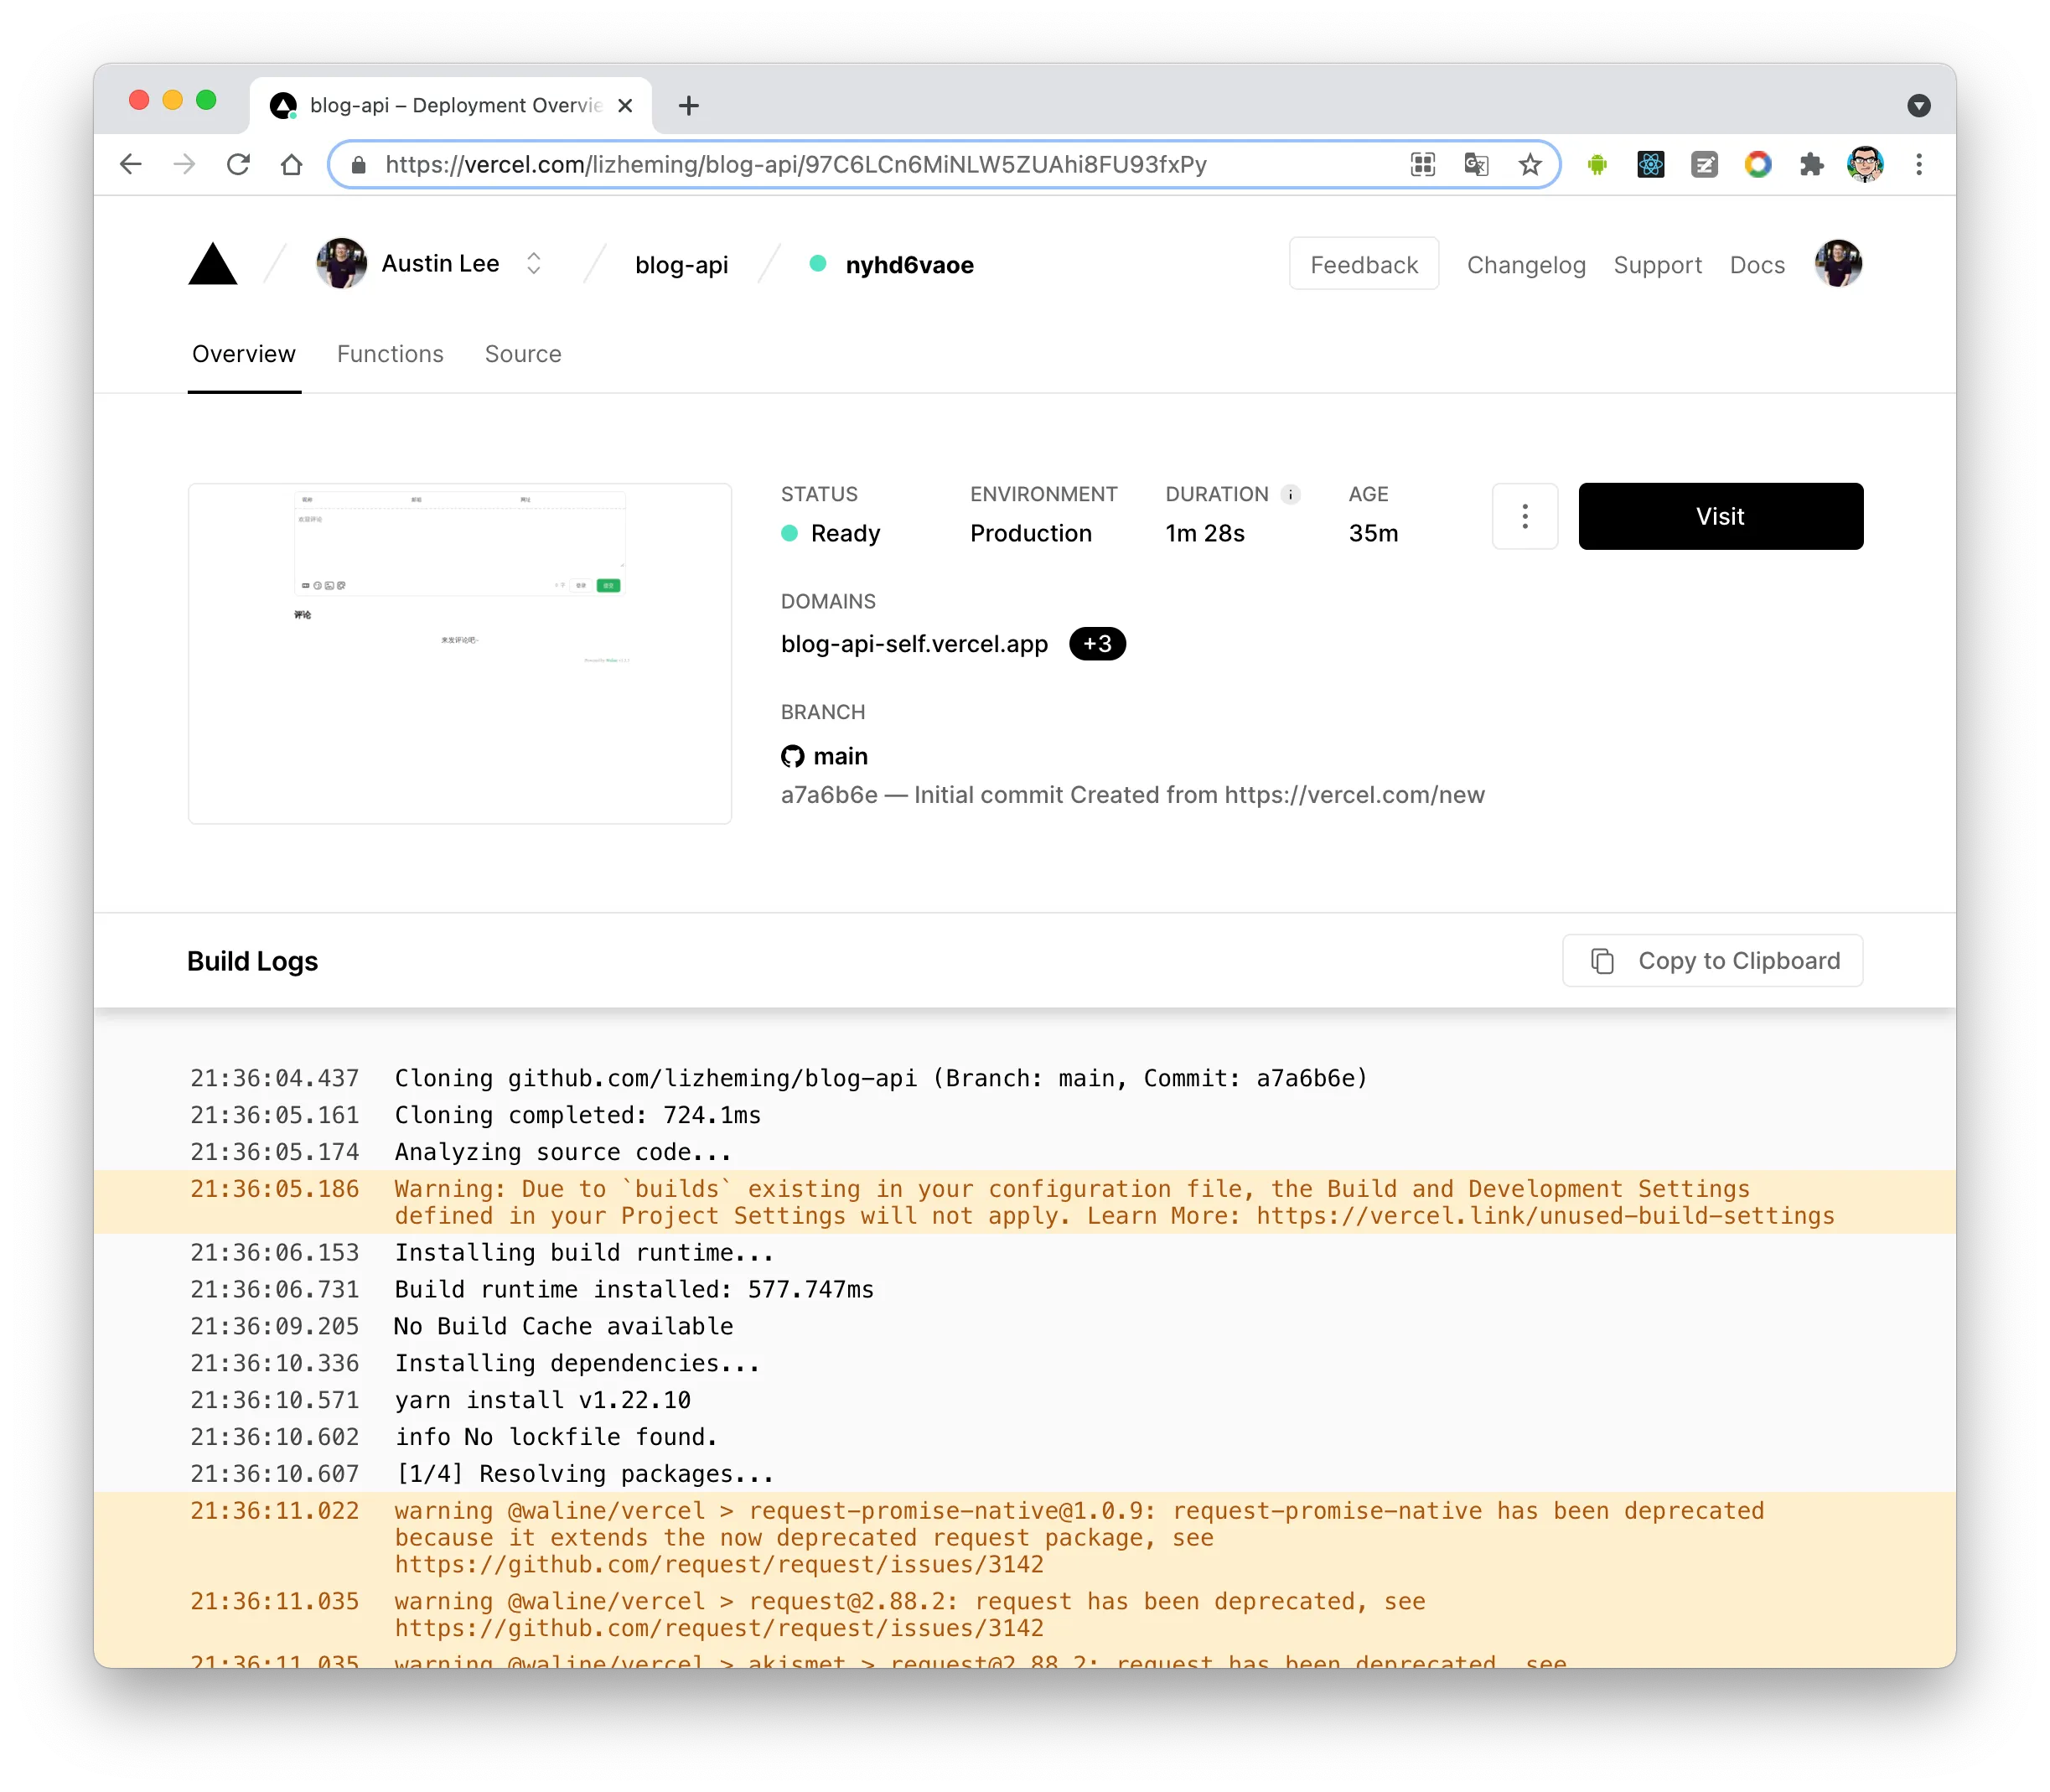 redeploy success
绑定域名 (可选)#
-
点击顶部的
Settings-Domains进入域名配置页 -
输入需要绑定的域名并点击
Add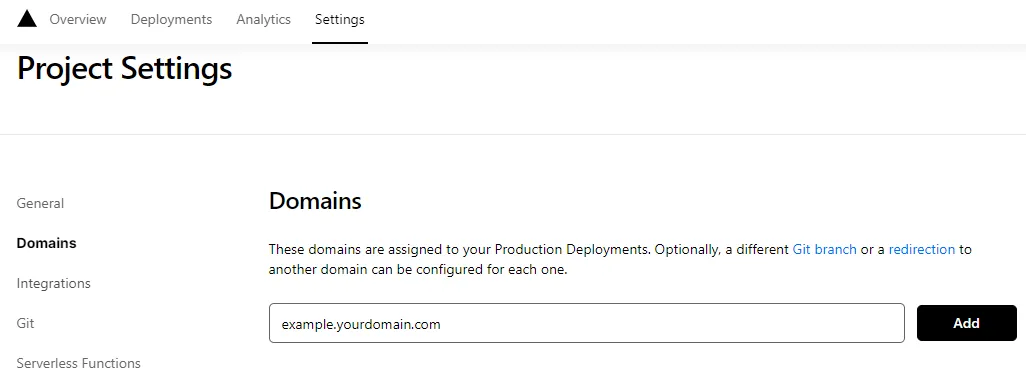 Add domain
 -
在域名服务器商处添加新的
CNAME解析记录Type Name Value CNAME example cname.vercel-dns.com -
等待生效,你可以通过自己的域名来访问了🎉
- 评论系统:example.yourdomain.com
- 评论管理:example.yourdomain.com/ui
 success
评论管理 (管理端)#
- 部署完成后,请访问
<serverURL>/ui/register进行注册。首个注册的人会被设定成管理员。 - 管理员登陆后,即可看到评论管理界面。在这里可以修改、标记或删除评论。
- 用户也可通过评论框注册账号,登陆后会跳转到自己的档案页。
Configuration#
Then you can configure the Waline comment system in the integrationConfig.server.
export const integ: IntegrationUserConfig = {
  // ...
  waline: {
    enable: true,
    // Server service link
    server: 'https://your-project-name.vercel.app/',
    // Refer https://waline.js.org/en/guide/features/emoji.html
    emoji: ['bmoji', 'weibo'],
    // Refer https://waline.js.org/en/reference/client/props.html
    additionalConfigs: {
      pageview: true,
      comment: true
      // ...
    }
  }
}Usage#
You can call it manually in .astro or .mdx files.
import { Comment } from 'astro-pure/advanced'

;<Comment />参考链接:
cworld1/astro-theme-pure: ⭐ A simple, fast and powerful blog theme built by Astro ↗